It's been more than six months since my last post, as lack of money and the requirements of my career suspended work on the layout. Things are more settled now, though, so I can finally get back to work!
Here's a shot of the layout as it stands right now, with most buildings removed. I plan on adding another turnout to the upper track to make a runaround track, otherwise I just have to continue adding ground cover, and finishing the building models.
Wednesday, July 3, 2013
Monday, January 14, 2013
Yard and Station Area Ballasted
Also added a thin concrete platform between the two station tracks, for moving luggage and other local freight between tracks.
Thursday, January 10, 2013
Ballasting and Station Yard
I'm slowly adding ballast to the track in the front part of the layout. I
also raised up the station area with a layer of MDF so that the station platform will be closer to
the level of the railhead. I plan on adding a thin layer of plaster in front to smooth out the slope, adding in a dirt driveway area as well.
A ground-level shot, looking 'east' toward the yard area. You can really see how poorly I laid out the straight sections of track!
Overhead shot of the station and yard area. The glue is still very fresh on the bottom section. Decided to plan on adding a very thin platform between the two siding tracks, rather than just ballasting it over, so no ballast there for now.
Thursday, January 3, 2013
Remote Turnout Control
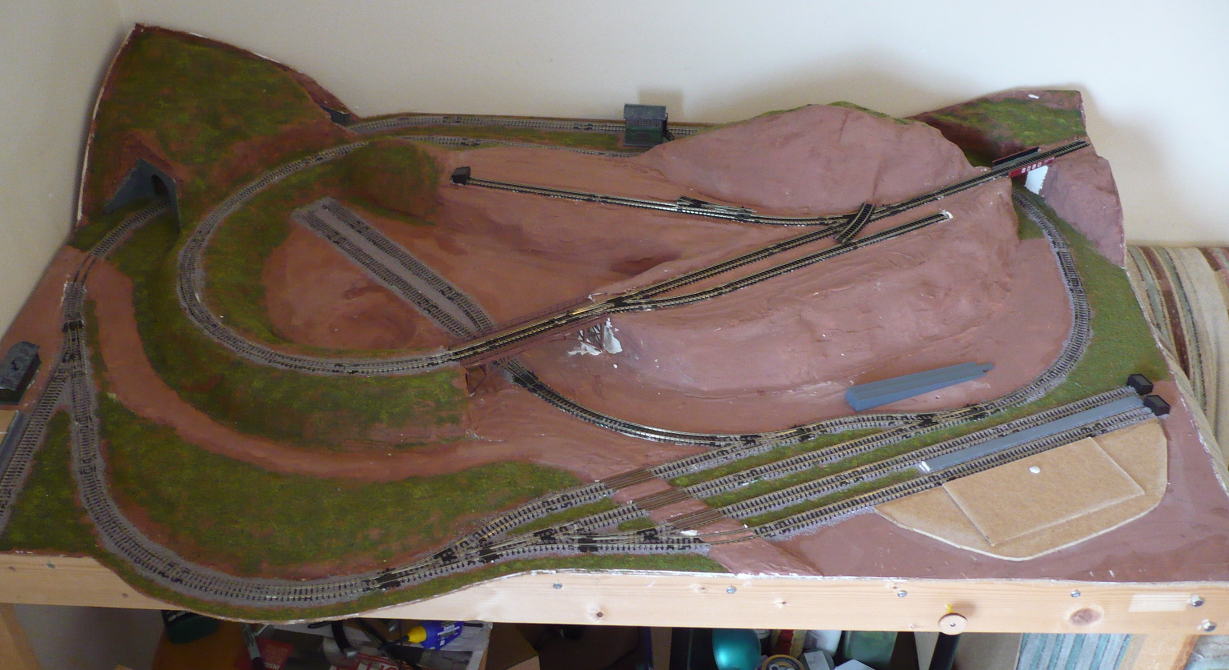
Yesterday I installed the BullFrog remote turnout control. There is one turnout on the layout that is not easy to reach from the front; you have to stand and reach over a hill to switch it, and it links the upper part of the layout with the base level. Installing a turnout control is not an easy thing to do once the turnout and track has been ballasted! I also had to shift one of the beams supporting the MDF baseboard about two inches to one side to even reach the area under the turnout. Needless to say this was not a planned addition, but it's worked out really well so far.
The BullFrog kit comes as a wooden sprue of laser-cut parts, each of which feels quite strong. The pieces come apart very easily and didn't even have to be trimmed to fit together. Assembly is done with wood glue or PVA and was finished very quickly. Although the kit can be assembled so that the switch box ends up to the right or left of the switch wire, depending on where one has space under the layout, the instructions regarding this were a little confusing and I had to check the plans several times to make sure I was putting mine together the way I wanted.
The red and black wires are feeder wires that happened to be attached to the base of the turnout, not involved in the BullFrog. I accidentally pulled one of them out, and will have to solder it back on to the side of the rail in the future. The bottom of the rail, where they normally attach, is completely inaccessible now.
Fitting the assembly to the bottom of the layout, and matching up the switch wire with the turnout level proved difficult, but eventually I had everything lined up, slathered the joint with glue, and stuck in a wood screw from the top to bind it together. In hindsight, it is very difficult to glue anything to the rough side of MDF, and wood screws have to penetrate through the board to have any hold. I think a thin piece of wood added ahead of time would have made things a lot easier, and given me a flat base to attach the assembly to.
I had to order an extension control cord so that the control knob can reach the front side of the layout. Fast Tracks, the company that produces the BullFrog, was great to order from. Right now the switch action is smooth and reliable. I did add candle wax to some surfaces as suggested in the instructions. Hopefully when the extension arrives in a couple weeks, I can finish everything and have it operational.
This is what the topside of the turnout looks like now. The right patch was for a hole I didn't end up using, and the left conceals the top of the wood screw; both of these will be covered up with groundcover. You can just barely see the tip of the wire poking through the left arm of the switch lever.
Tuesday, January 1, 2013
Quick Holiday Update
Just a short post to say that I received a BullFrog Manual Turnout Control kit and am assembling and installing it on the turnout that links the ramp to the main loop. So far, so good, although I had to move one of the structural beams in the table framing to get at the underside of the turnout!
Thursday, December 13, 2012
Kabayama Coal Mine
Started to assemble the Coal Mine model and am checking out where best to place it. Even though I never planned to add this particular model, luckily it fits quite well into the middle of the layout.
The plan is to build footbridges to the upper area where the minehead will be. Upper siding will be for worker passenger transport and materials, lower tracks for produced coal.
Tinycat approves.
Low view from the front of the layout. This model is really well designed, and will require just a little work to make it more realistic. The roof in particular will be getting a new coat, but the wooden slats look very realistic and weathered.
Saturday, December 8, 2012
Weekend Update
Recently I've been continuing to add ballast and ground cover to the layout.
Looking away from the yard toward the freight depot siding. Better job on the ballast here, if I do say so myself. Working around the switches was a bit of a pain, but getting this filled in is really making this section start to look 'real'.
Close-up shot of the switches leading in to the yard area. Some of the crossing boards need another coat of paint, and the road still needs to be surfaced, of course.
A new addition! Or, I guess in this case, a subtraction. Putting in a small round pond near where the coal mine will go.
Finally assembled a crane that I had gotten as a gift nearly a year ago. It's normally an L-shaped construction crane, did some modifications to turn it into a yard crane. The scale is a little weird; in its original form, I can imagine it as a Z-scale structure. I think real construction cranes are quite a bit larger.
Near future: add plaster cloth to the new pond, and seal with a coat of patching compound, also finish the ground surface in the freight depot area.
Subscribe to:
Posts (Atom)