I have not had much time to work on the layout recently, but I have done a few things here and there:
Making a freight platform from layered pieces of hardboard. The plastic piece in front is a Peco (I think) platform front, useful for the fine brickwork detail. The plan is to build up the bulk of the platform and then plaster the top, painting it to look like concrete.
Small rolling hill built up from two layers of cardboard. I'll lay the plaster cloth on top and add a few shrubs and maybe a couple trees. The main road will be sandwiched between this hill and the slope of the ramp.
Decorated the bridge! Printed these out on regular paper and glued on with PVA glue. I hope when the bridge is weathered they will look more like painted signboards and less like what they are.
Today I continued work on building up the landscape.
The tunnel portals are not painted yet, but I've put them in place using blu-tack temporarily to build up the tunnel. The plan is to have the top of the hill lift off for access, which I think is better than building a hole into the back of the hill since this is in the corner of the room. Sanding block is to keep the sides square while they dry. Unfortunately there will be a very steep hill between the ramp track and the top of the tunnel, but it's a good place to put a short cliff face or similar.
View of the upper tunnel portal with sides also temporarily attached.
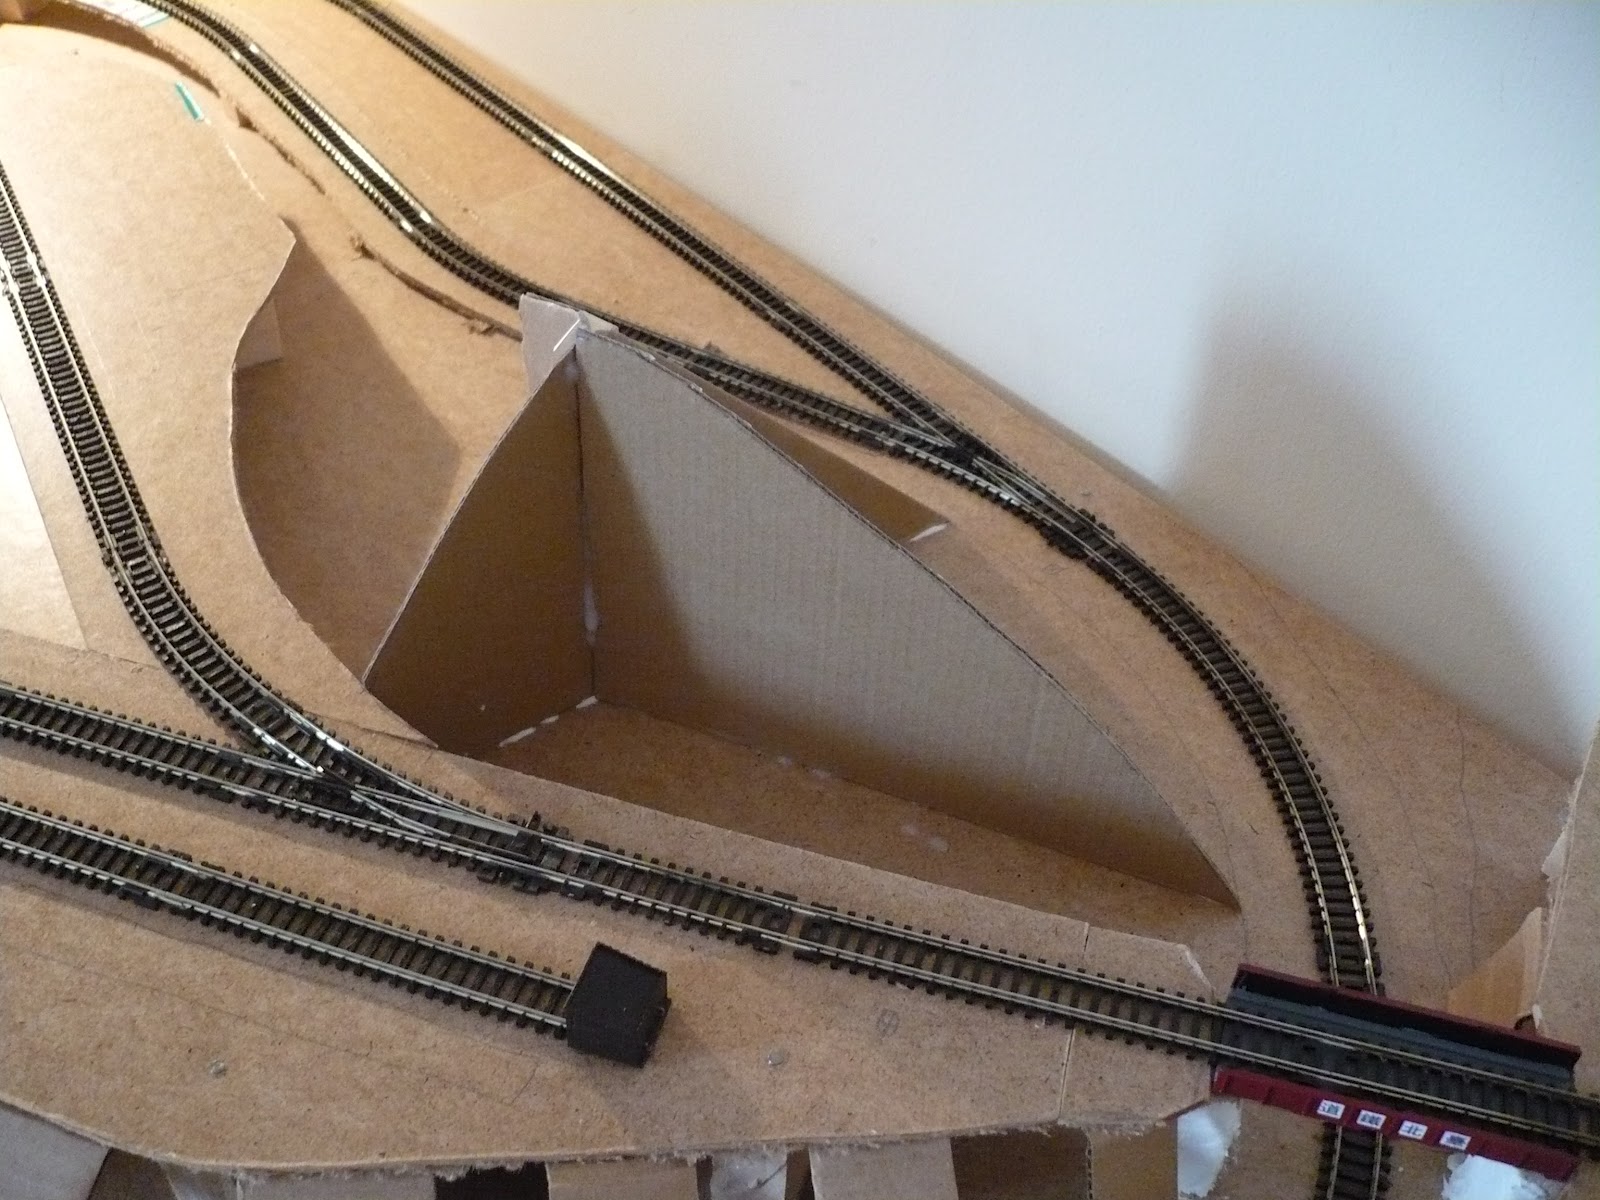
Trying a new technique for the large hill in the upper right of the layout. Started with a single piece of cardboard that I stuck in the middle, then eyeballed it so that an operator standing in front of the layout (assuming they're 6' tall) would just be able to see trains passing behind the hill, but would easily be able to lean over and see everything. Then I measured and cut out the cardboard shapes based on this height.
Another view of the hill framework.
Yet another view. I don't know whether I'll use cardboard strips, newspaper, or a combination of both to build up the hills in preparation for plastering.
Next is to continue with the tunnel hill, and finish off that platform. I've started figuring out what each of the five sidings will accept/produce, looking forward to starting a random waybill system for ordering different cars around the layout. Also named the small passenger station and putative town beyond: Kabayama 樺山, after a neighbourhood in the real Taihoku where a major freight yard was built ca. 1938.
Fixed a few pieces of track, including a switch in the approach to the yard that I realized was facing the wrong way. Here little Ness helps me test for track alignment before adding a few more pins to the track.
Roughing out the terrain around the ramp. Definitely going to put in a tunnel in the back corner, just need to prime and paint the stone portal openings before proceeding.
A view of the new upper level. Didn't really need a run-around up here, so I made it into another siding. This can be where cars destined for points abroad are left for pickup, and where consists coming in from the real main line are left for the local.
All the major trackwork for the layout is in place! Finally pinned down the final siding today. I have a temporary mockup of a tunnel set up in the upper left corner, but I think I'm going to pick up some plastic tunnel portals and set them up before I decide how long the tunnel is going to be.
I'm thinking more and more that I should plan this layout with a mind to sell it before I have to move again next year. That said, most prospective buyers will not be a fan of an East Asian setting, so my plan is to have the buildings set up temporarily so they can be switched out by a new owner. This entails building them as modules and leaving flat areas for them to fit into. We'll see how well this plan works!
The platforms for the main station area and the sidings will be pretty generic, though, so I'm going to turn my attention to those next, and set them up attached to the layout.
Today I pulled out the layout from its dark corner into the middle of the living room. My plan was to add some crossties to the legs to improve frame stability, and to add some more nails fixing the baseboard to the frame.
The layout from a very different angle, and in sunlight!
One of the current distributors I used to wire up the feeder lines. Red feeds the inside track, black the outer. The two large wires heading off into the sunlight connect to the control box.
Reverse angle shot of the layout. I added the crosspieces, hammered in a bunch more nails, and trimmed off a bit of the baseboard from the back corner of the layout. Also started gluing together the platform for the last siding. Am also seriously considering a tunnel for the straight section of track in the lower right of the image above. The hill containing would rise up into the corner of the layout, the one which is now in the corner of the room.
Continued working on some of the buildings, assembling them and giving them a basecoat of colour.
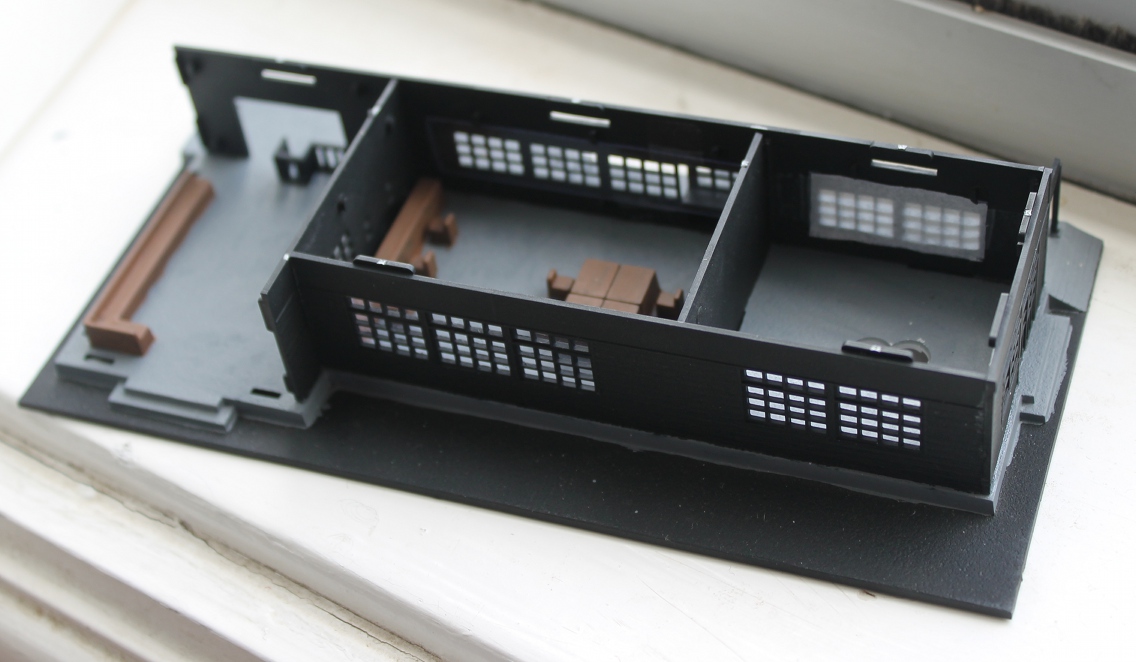
This small station building (the Greenmax Trainman Office) went together pretty easily. At this point I was still using a sharp knife to cut a hole in the base (which is quite thick compared to the walls) for eventual illumination. Took me a very long time and was far too dangerous.
With the main station (the Greenmax Rural Station House) I realized I could just try my drill for the floor hole, and it went through with no problem. The interior of this station is divided into three areas, from left to right: waiting area for passengers, office and ticketing desk, and finally some kind of workroom or station manager's office, which is separated by a solid wall. I decided to drill a hole in the floor of this room, since it didn't have any interior details anyway, and put paper on the windows. My plan it to have the wires come up through the baseboard into this room and power three lights, one for each section, the wires for which run along the underside of the roof. It would be possible to have each light on a separate switch, although if I don't build blocks for the roof space the light would spill through.
Overall the station is a great little structure, with lots of detail.
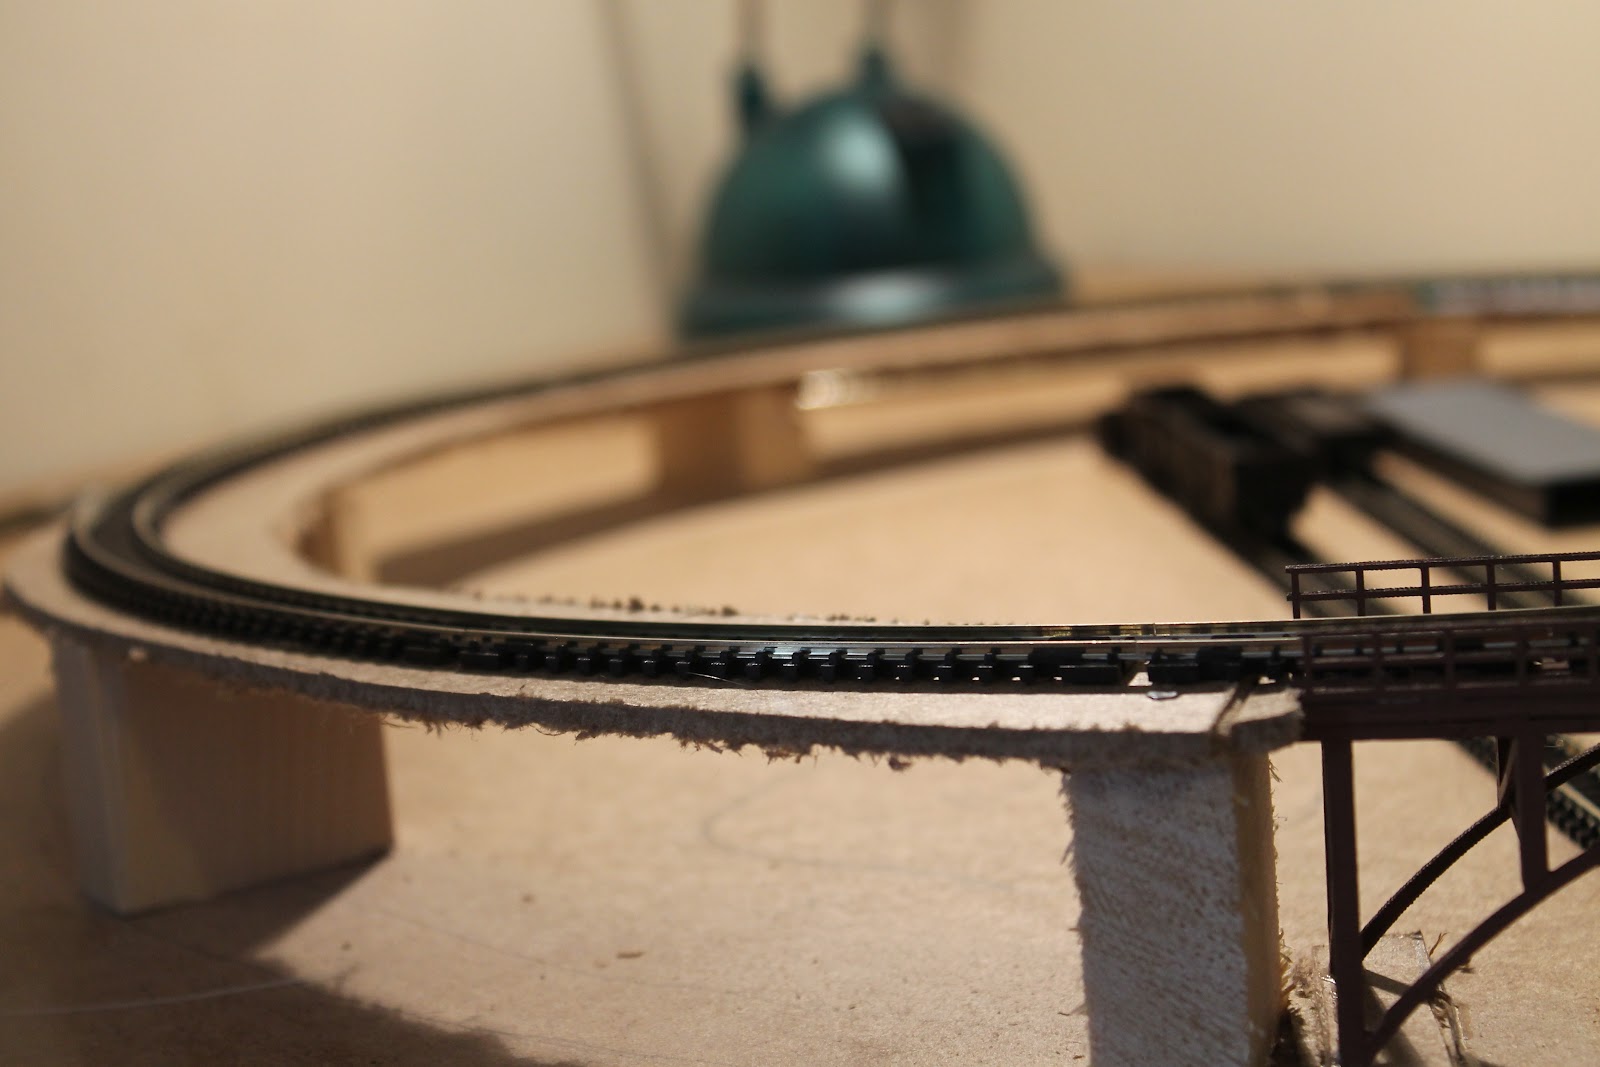
Finally finished the bridge to nowhere, gluing it to the supports with PVA glue and pinning the track in place. I added a little filling compound to the supports so that eventually I can sand it flat, paint it grey, and weather it to look like concrete. Lots of clearance under the bridge as constructed.
So this area is finished, and the only section of the layout trackwork that still needs to be built is the siding on the upper level. There's a problem, however, in that the siding is much longer than the track available for a loco that is pulling out of it. I guess this will just mean some extra complexity to pulling cars out of the siding and getting them onto the mainline, which in a small layout is not a bad thing.
Progress continues on trackwork and setting up the supported platforms for the upper level. If you're interested, here is an image of the original plan from which this one was adapted. It's from the excellent Mike's Small Trackplans Page.
As you can see I changed it from a mainly two-track layout since the Peco SetTrack doesn't allow for this much track to be packed into a small space. I also enlarged the yard area and never incorporated the crossover.
Yesterday I cut and glued a small corner platform on the extreme upper right of the layout where the track to nowhere will end. Also started painting the smaller bridge, which hasn't fallen apart yet, and set it up for a test run as shown in the video below:
Note that none of the rolling stock has been painted yet.
I've been having a strange problem with some of the turnouts where they've started to bow upward, making a substantial bump in the track at several places. Not sure what is causing this. I've had to shim up part of the track on the upper level to try and smooth out the changes in elevation.
In the meantime I'm running the train around to make sure none of the track needs to be adjusted. It's been mostly smooth so far, but the ramp leading up to the second level is not completely smooth. I might have to add a few supports to make it less of a wild ride.
Here's another short video of the train passing along the mainline past the main yard:
Have to work on the focus and level for these videos! In the meantime, a short layout tour:
Overall view, with a very non-scale worklamp in the corner. I think I might put a tunnel there where the straight piece of track is and build it up into a hill. The black building in the bottom right is the base and roof of my passenger station, and the smaller one is an assembled but unpainted station building.
The little siding that could! Added this one when I realized I needed more turnouts anyway. Will be a small local industry.
The central sidings. It's in a great place to make it serve a coal mining operation, if I can fit the buildings around the track.
The junction with the ramp track. Switch house has been assembled and painted for some time now, just waiting for a junction to oversee.
The ramp. Most of the time the locomotive and handle it alright, but once in a while the leading two wheels jump off the track. There are some dips and bumps as it is, but hopefully I can smooth these out with a little work.
The wooden bridge. Almost put those tracks too close to the left side to leave enough clearance for a loco passing underneath. Managed to finagle it but it's still pretty close. Very happy with this bridge, it actually has a lot of tensile strength and doesn't move at all when the loco passes over top.
Main yard. I'm thinking of positioning the station building to the left of the straight section of siding, and having a small "in front of the station" scene in the corner.
Progress continues! Yesterday I added the wooden bridge and tacked down much of the track on the upper level. The track on the wooden bridge proved to be a bit of a problem since it was bowing up and there wasn't enough structure to pin it down. So I grabbed a 1" square piece of hardboard, held it underneath the bridge deck, and pinned the track into that. So far it's held really well, and you can't see that piece at all unless you were somehow standing underneath the 2" high bridge.
I wired in a feeder on the upper level so that it would have sufficient juice, and to give power to the siding which I'm leaving unbuilt for now while I think about that area of the layout. I then started looking at the bridge on the right side of the layout, where the connection to the imagined rest of the world leads off to the edge of the baseboard, and discovered that my bridge as assembled would not give nearly enough clearance to trains below. So I got out my clippers and took off the sides, gluing them on to a spare piece of roadbed that came with the kit. Once it's painted up I think it will look good enough, although I had to lose the detail of the bracing under the bridge. Well you couldn't see that anyway.
Also wired up all three feeders under the layout and connected it to the control box. Ran a train around and no problems so far! I also added a new siding on the left edge of the layout and started to put together some of the Japanese railroad buildings I've had primed but sitting around for some time now.